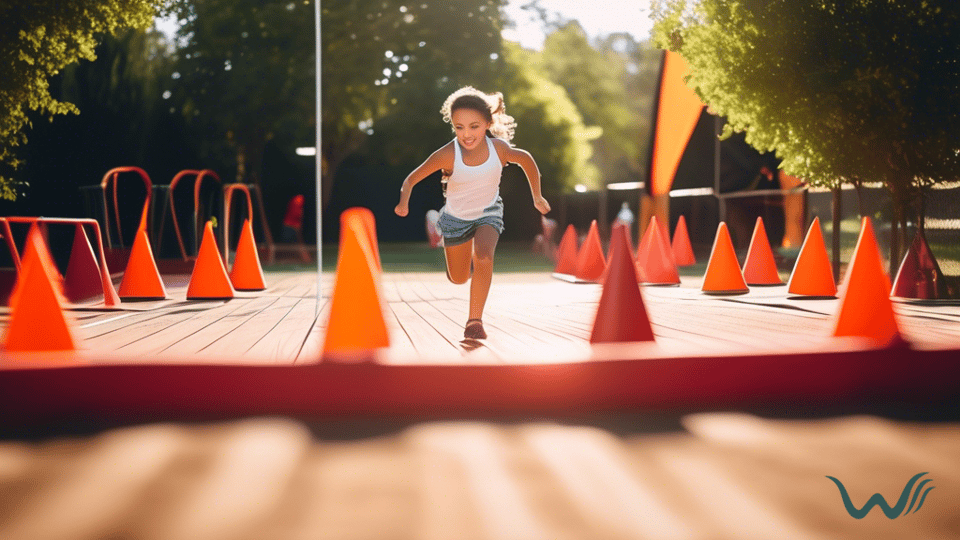

Imagine you and your furry friend spending a fun-filled day outside, running through tunnels, jumping over hurdles, and weaving through poles. Setting up a beginner agility course for your dog can be a rewarding and exciting experience for both of you. Not only will it provide physical exercise and mental stimulation for your pup, but it will also strengthen your bond and communication skills.
In this article, we will guide you through the process of setting up a beginner agility course for your dog. From choosing the right equipment to teaching basic commands, we will help you create a course that is both challenging and enjoyable for your four-legged companion. So grab your dog’s favorite treats and let’s get started on this new adventure together!
Choosing the Right Equipment
Just like a chef choosing the right ingredients for a recipe, selecting the appropriate obstacles for your course is key to ensuring a successful and enjoyable experience for you and your dog. When choosing equipment, consider the size and breed of your dog, as well as their skill level. For beginners, start with basic obstacles like jumps, tunnels, and weave poles. These will help build your dog’s confidence and coordination as they navigate through the course.
In addition to the obstacles themselves, make sure to consider the quality and safety of the equipment. Look for sturdy materials that can withstand your dog’s movements and weight. Safety should always be a top priority, so check for any sharp edges or loose parts that could potentially harm your dog. Remember, the goal is to create a fun and challenging course that both you and your dog can enjoy together. By choosing the right equipment, you’re setting the foundation for a successful agility training experience.
Setting Up the Course Layout
Creating a layout for the novice agility circuit involves strategically placing obstacles to challenge both the handler and the dog.
Start by setting up a sequence of obstacles that flow well together, such as weaving poles, jumps, tunnels, and a pause table. Ensure that there’s enough space between each obstacle for the dog to safely maneuver and for the handler to guide them effectively.
As you set up the course layout, consider the level of difficulty for the beginner agility participants. Start with simple and straightforward paths, gradually increasing the complexity as both the dog and handler become more experienced.
Remember to keep safety in mind by avoiding sharp turns or obstacles placed too closely together. By creating a well-thought-out course layout, you’ll provide a fun and engaging experience for both the dog and handler, setting them up for success in their agility training journey.
Teaching Basic Commands
Mastering the basic commands is key to nailing your agility training – you’ve got this! Start by teaching your furry friend simple cues like ‘sit,’ ‘stay,’ and ‘come.’ These commands will form the foundation of your agility course journey, helping your pup understand how to listen and follow your instructions.
Remember, patience and positive reinforcement are your best friends when teaching these basic commands. Celebrate small victories and keep the training sessions fun and engaging for both you and your dog. Once your pup has a good grasp on the basics, move on to more advanced commands like ‘heel’ and ‘wait.’
These commands will come in handy during the agility course, helping your dog navigate obstacles and stay focused on the task at hand. Consistency is key, so practice these commands regularly in different environments to ensure your dog can perform them reliably. With dedication and a positive attitude, you and your furry companion will be well on your way to mastering the agility course together.
Starting with Simple Obstacles
Starting with simple obstacles can help build confidence and skills in agility training. By introducing your dog to easy hurdles, tunnels, and weave poles, you are setting a solid foundation for more advanced challenges down the line. These basic obstacles will help your furry friend understand the concept of agility and get them excited about the training process.
To give you a clearer idea of some simple obstacles you can start with, here is a table outlining a few options:
| Obstacle | Description | Purpose |
|---|---|---|
| Hurdles | Low bars for jumping over | Builds jumping and coordination |
| Tunnel | A short tunnel for crawling through | Improves confidence and focus |
| Weave Poles | A series of poles for weaving between | Enhances agility and speed |
| A-Frame | Inclined ramp for climbing and descending | Strengthens hind legs and balance |
By incorporating these obstacles into your agility course, you are not only helping your dog develop new skills but also fostering a deeper bond through shared experiences. Remember to keep the training sessions fun and rewarding to keep both you and your furry friend motivated on this agility journey.
Gradually Increasing Difficulty
As you dive deeper into the agility course, don’t be afraid to push yourself out of your comfort zone and take things up a notch. Challenge yourself to tackle more complex obstacles to improve your agility skills.
Here are some ways to gradually increase the difficulty of your agility course:
- Introduce new obstacles that require different skills, such as weaving poles or a tunnel.
- Increase the height or distance of existing obstacles to test your limits.
- Add distractions or noises to simulate a more challenging environment and improve your focus and concentration.
Keep pushing yourself to try new things and overcome obstacles that may seem daunting at first. Remember, the key to mastering agility is to step out of your comfort zone and embrace the challenge.






 Ask ChatGPT
 Ask Claude
 Ask Perplexity